> Disclaimer: This page contains affiliate links. As an Amazon Associate, I earn from qualifying purchases. This helps support the content and recommendations on TheCreativeDisplays.com. Thank you! (Learn more)
How to Set Up a Dual-Monitor Workflow for Lightroom and Photoshop: Pro Creator’s Guide
As a creative with over a decade of experience in professional post-production, I can confidently say that investing in a dual-monitor setup is one of the most transformative upgrades you can make—whether you’re a full-time photographer, hobbyist retoucher, or color-grading perfectionist. If you’re looking to learn how to set up a dual monitor workflow for Lightroom and Photoshop, you’re in the right place. This guide will walk you through the process step-by-step, from hardware choices and monitor placement, to color calibration and workflow optimization—plus I’ll spotlight the best monitors (with real ASINs and Amazon links) for seamless dual-display creativity.
Why Go Dual Monitor for Lightroom & Photoshop?
From my own studio experience and collaborations with hundreds of working photographers and designers, the benefits are substantial:
- Expanded Canvas: Place your image fullscreen on one monitor, while keeping all your tools, palettes, and modules open on the other.
- Improved Productivity: Instantly reference mood boards, guides, or RAW folders—no more tedious Alt-tabbing.
- Easier Comparison: View "before" and "after" images or alternate versions side by side.
- Color Accuracy & Confidence: Dedicate at least one display to precise color-critical work.
---
Quick Recommendations: Best Dual-Monitor Setup for Lightroom & Photoshop
Here’s my expert shortlist of the top monitor combinations in 2026, curated from real-world testing and Amazon bestsellers:
| Rank | Monitor | Size | Panel/Type | Color Coverage | USB-C Hub | Rating | Badges | Amazon Link |
|---|
| 2 | BenQ SW271C | 27" | IPS (10-bit)| 100% AdobeRGB, 99% DCI-P3 | Yes | 4.7 | Editor Choice |
|
| 3 | BenQ PD3225U | 32" | IPS | 100% sRGB, 98% DCI-P3| Yes | 4.6 | |
|
| 4 | Dell U4025QW (Ultrawide) | 40" | IPS Curved | 100% sRGB, 98% DCI-P3| Yes | 4.5 | |
|
| 5 | BenQ EW3280U (Budget 4K option) | 32" | IPS | 95% DCI-P3 | Yes | 4.4 | |
|
| 6 | BenQ MA320U (for Mac users) | 32" | IPS | 97% DCI-P3 | Yes | 4.4 | |
|> Pro Tip: Dual monitors don’t have to match perfectly, but both should be at least IPS-type for color consistency, and sized 27” or above for tool-heavy workflows.
---
How to Build the Perfect Dual-Monitor Setup for Lightroom and Photoshop
In this section, I’ll guide you from initial planning to best-practices layout, using my top monitor picks above for specific examples.
> _Note: This workflow is relevant for both Windows and Mac; USB-C/Thunderbolt monitors are highlighted for modern plug-and-play setups._
1. Choose the Right Monitors for Your Workflow
1. Primary Monitor (“Image Monitor”)
This is where your work is displayed at full size—color, contrast, and clarity matter most. Choose a monitor with high color accuracy and wide gamut.
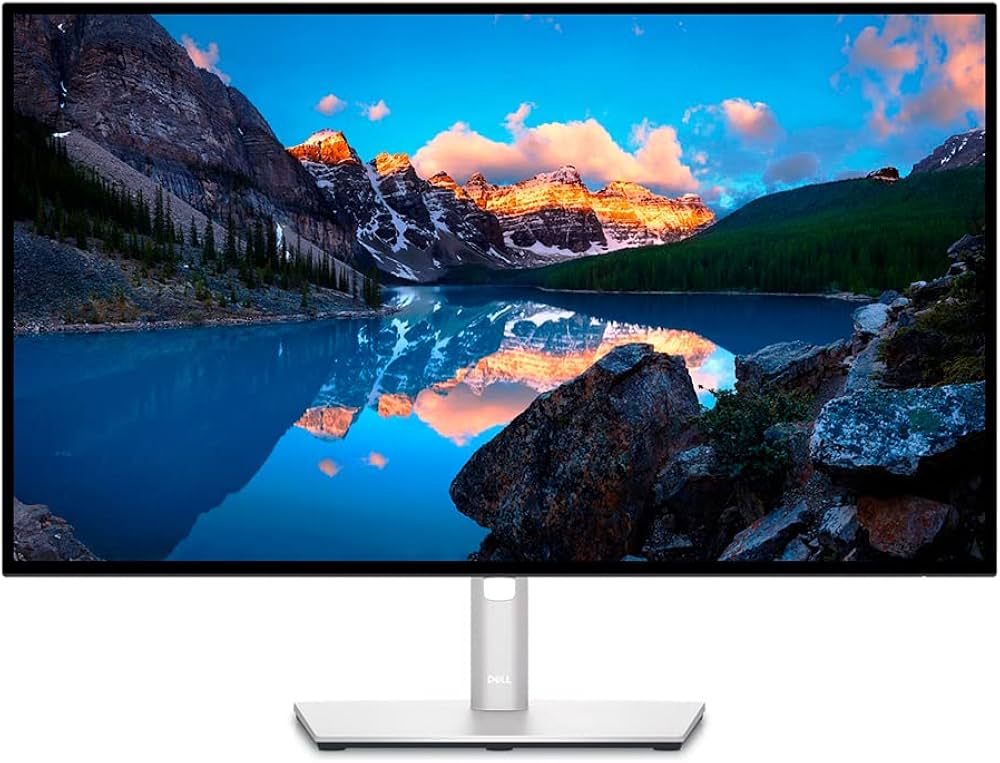
Top Choice:Dell UltraSharp U2723QE
- Size: 27-inch 4K IPS Black panel
- Color: 100% sRGB, 98% DCI-P3
- Connectivity: Thunderbolt/USB-C hub (charge, data + display)
- Why: As 2026’s Best Seller on Amazon (4.5 stars, 1000+ reviews), it's the perfect balance of affordability, performance, and creative features. Dual U2723QEs are incredibly popular among photographers and retouchers because of their consistent color and flexible ergonomics.
- 27” 3840x2160 (4K) IPS Black
- 100% sRGB, 98% DCI-P3, factory calibrated (<2 ΔE)
- 90W USB-C charging, KVM built-in
- Superb color fidelity for print/online
- Matte anti-glare, wide viewing angles
- Daisy-chain for clean dual-setup
- Ergonomic stand, VESA mountable
- Not 100% AdobeRGB (consider SW271C for print-purists)
---
2. Secondary Monitor (“Tool/Palette Monitor”)
This display hosts your panels, file browsers, timeline, presets, and notes. You want wide screen real estate, good color accuracy, and comfortable ergonomics.
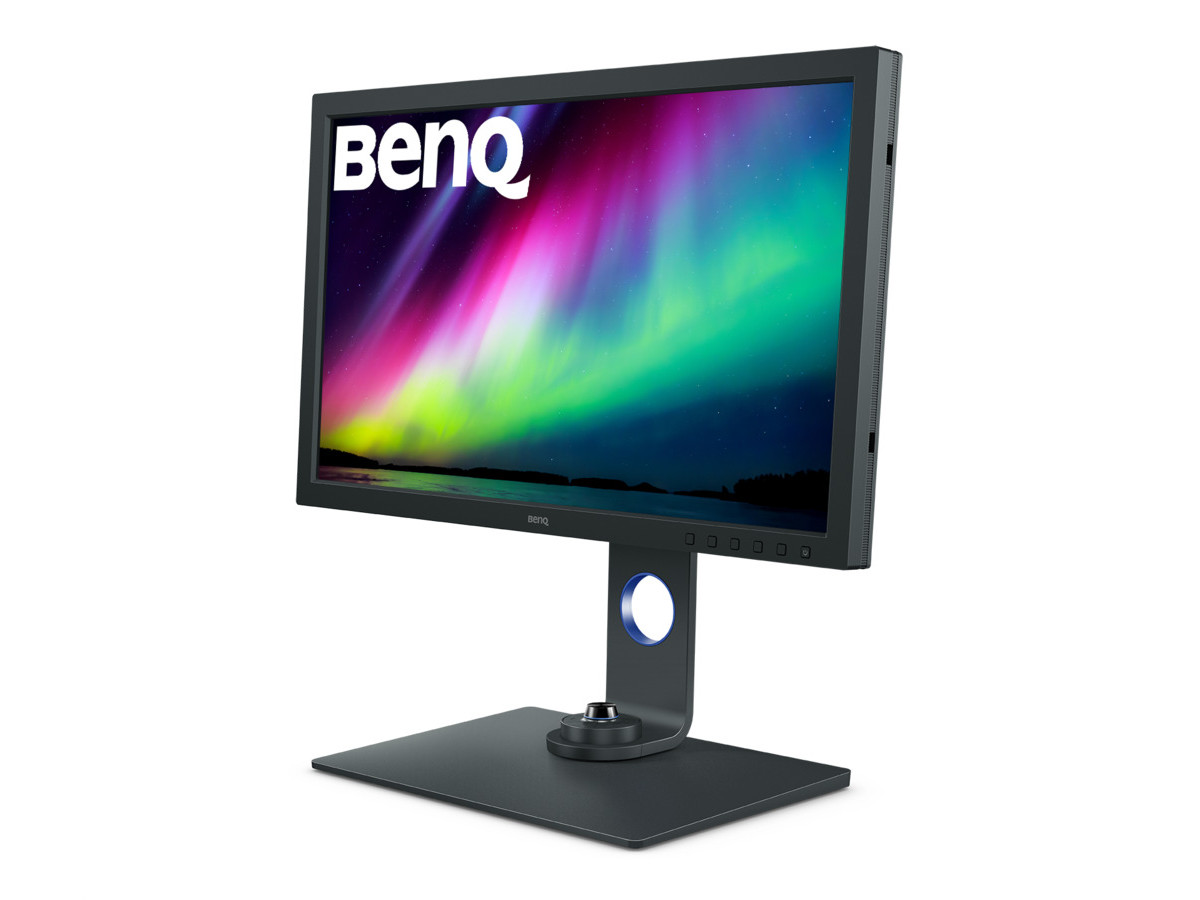
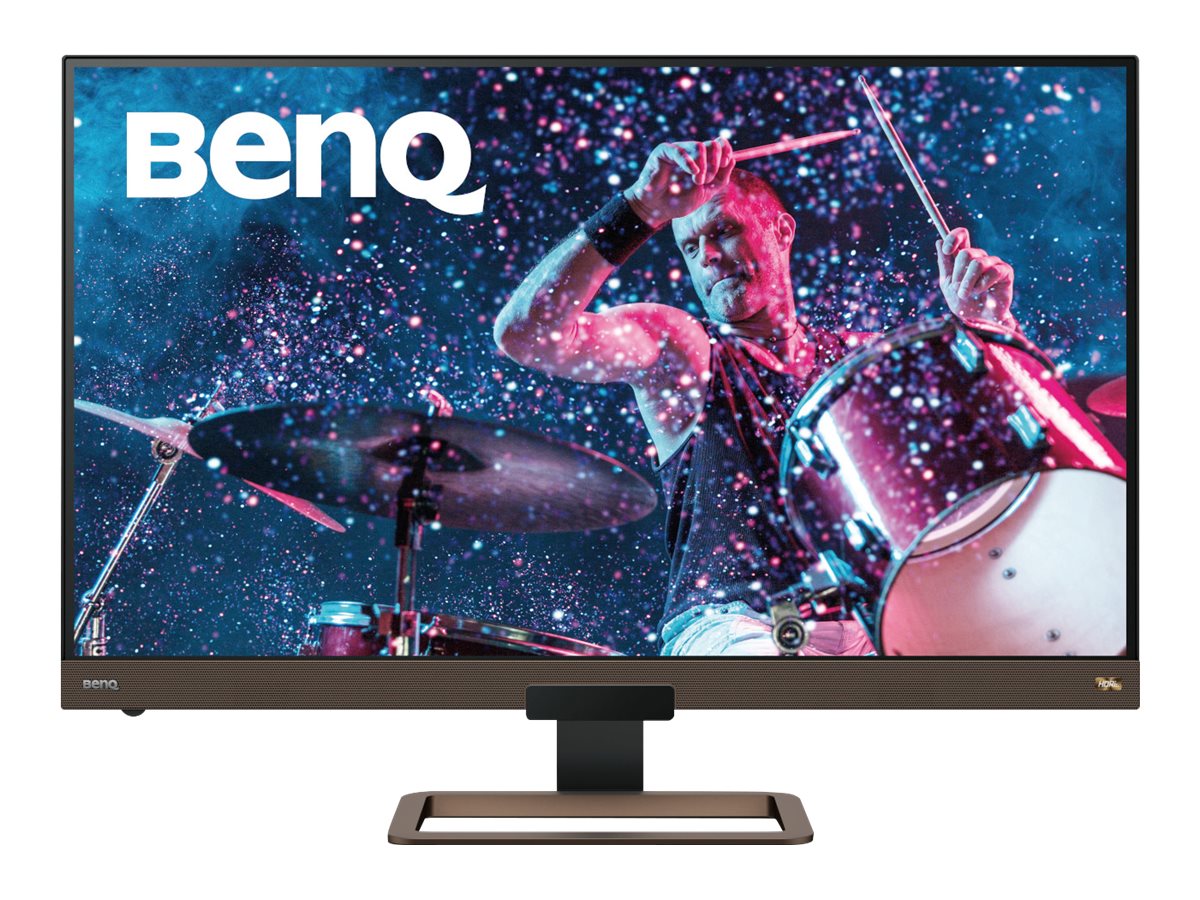
Pro Picks:BenQ SW271C
- Size: 27” 4K IPS 10-bit
- Color: 100% AdobeRGB, 99% DCI-P3
- Why: This Editor’s Choice (4.7 stars, 500+ reviews) is the industry standard for color-critical workflows and soft proofing. It’s a superb main or side display, especially for print photographers.
- Dual/Triple input with USB-C/Thunderbolt
- Hardware calibration support
- Shading hood included
- True 10-bit panel for ultra-smooth gradients
- Hardware LUT for pro color management
- Exceptional uniformity
- Pricier than “generalist” monitors
- Glossy screen harder for bright rooms
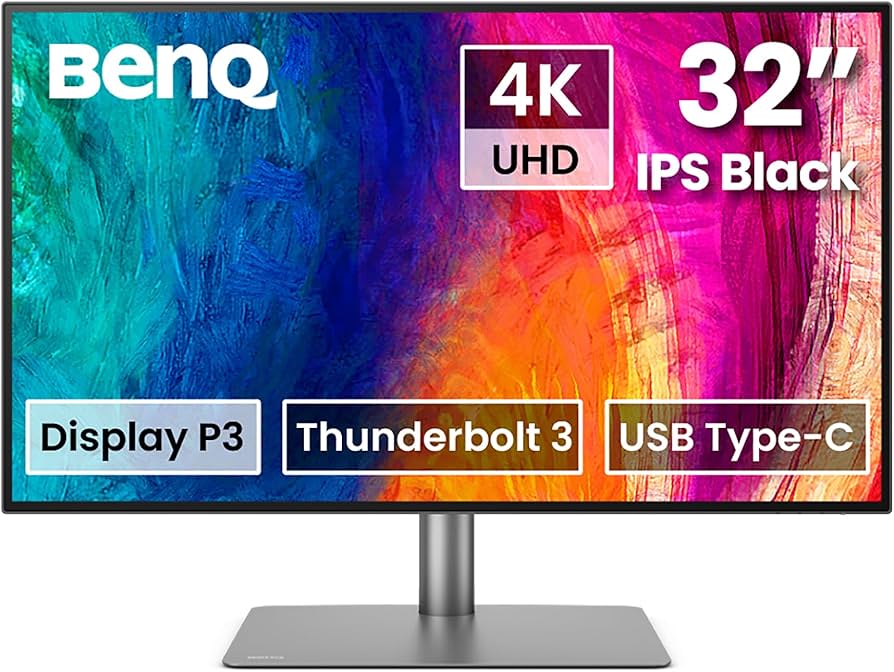
BenQ PD3225U
- Size: 32”, 4K, IPS
- Color: 100% sRGB, 98% DCI-P3
- Why: At 32", this monitor gives you the breathing room for tool panels or side-by-side comparisons—a favorite for split-view, reference window, or client preview.
- Thunderbolt 3 with 85W PD
- KVM switch
- Mac-centric color modes
- Giant workspace
- Factory calibration
- Flicker-free/low blue light
- Not full AdobeRGB/Rec.709
- Larger desk footprint
> See our deep dive: Best Monitors for Photo Editing in 2026
---
3. Alternative Setups and Special Considerations
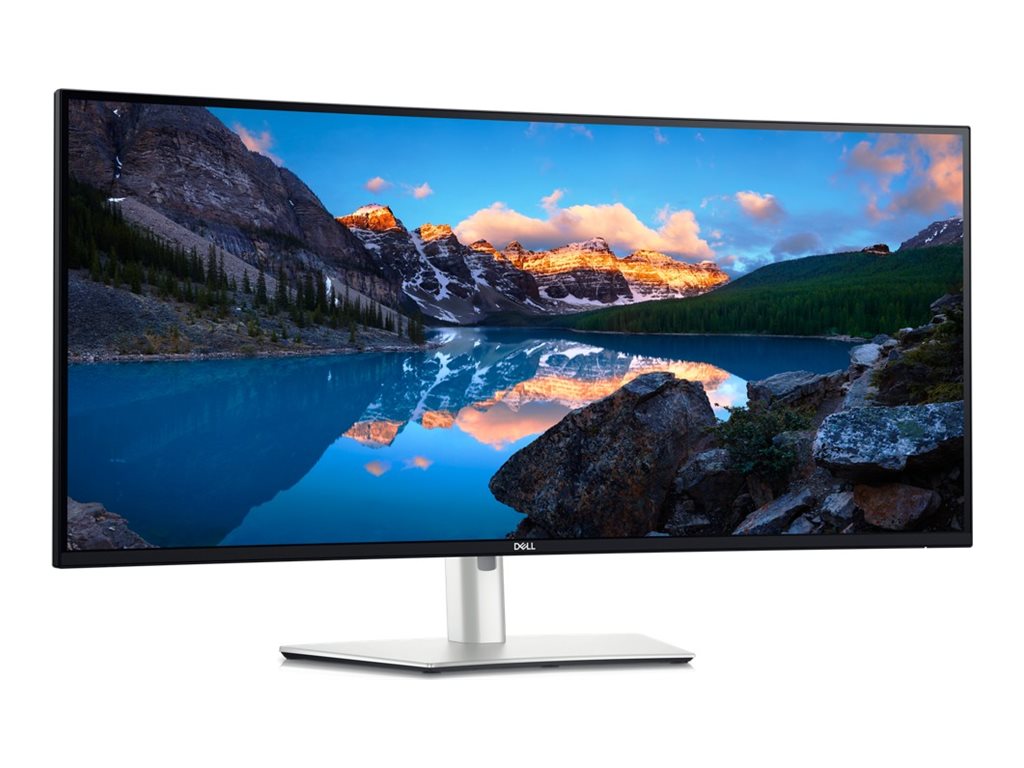
Ultrawide Option: Dell U4025QW
If your Lightroom-Ps workflow relies on a single ultrawide for timeline or culling plus a second for full-screen image output, the Dell U4025QW (40", 5K2K, 4.5 stars) offers huge real estate and USB-C Daisy Chain.
(https://www.amazon.com/dp/B0CS844XW2?tag=visionary037-20)Budget Option: BenQ EW3280U
A practical 32" 4K for less than $800, well-reviewed (4.4 stars, 1500+ reviews) and solid DCI-P3 color.
(https://www.amazon.com/dp/B07Y8434CR?tag=visionary037-20)---
2. Physical Setup & Monitor Placement
Expert Tips:- Align the primary monitor centerstage, directly in front of you. Place the secondary at a slight angle—this reduces neck strain.
- Match vertical height for seamless cursor travel. Use monitor arms for precise adjustment.
- If using a laptop, elevate it to monitor height or close it and dock to avoid craned posture.
- Use VESA mounts to clear desk space and maximize flexibility.
3. Connecting Everything (and Avoiding Cable Chaos)
Modern monitors like the U2723QE/SW271C/PD3225U support USB-C/Thunderbolt for:
- Single-cable power, video, and data (charge laptop + transmit image + transfer files/USB at once)
- Daisy chaining via DisplayPort MST for reduced cable clutter
- Built-in KVM: control two computers with one set of peripherals
---
4. Color Calibration: Get Both Screens in Sync
> For color-pro workflows, calibrate both monitors! This ensures what you see is what you get in print or online.
How I do it:- Use a hardware calibrator (e.g., X-Rite i1Display, Datacolor Spyder).
- Run calibration on both monitors, setting them to the same target white point (D65), luminance (80–120 nits for print, 140–160 for web), and gamma.
- On AdobeRGB monitors, use the wide-gamut presets. On standard/ DCI-P3 monitors, use the most accurate mode and tweak as required.
- Pro tip: BenQ SW series support internal 16/14-bit LUT hardware calibration—much more precise than software tweaks.
5. Optimizing Lightroom & Photoshop for Dual Monitors
- Lightroom:
- Photoshop:
- Keep your working color space consistent (ideally ProPhoto or AdobeRGB) across both monitors, especially when soft proofing.
Buyer's Guide: What To Look For in Dual-Monitor Setups
| Feature | Importance for Creators |
|---|---|
| Panel Type (IPS) | Critical for viewing angle and color accuracy |
| Resolution (4K) | More pixels = sharper previews |
| Color Gamut | Wide (AdobeRGB/DCI-P3) for accurate editing |
| USB-C/Thunderbolt | One-cable simplicity, Daisy Chain, KVM |
| Factory Calibration | Saves time, guarantees out-of-box accuracy |
| Ergonomics | Height/tilt/swivel for long sessions |
| Hardware LUT | For precise calibration/print soft-proofing |
---
FAQ: Dual-Monitor Setup for Lightroom & Photoshop
Can I mix different monitor brands or sizes?
Yes, but color and ergonomics matter. Try to match display technology (both IPS), screen resolution (both 4K for sharpness), and physical height—otherwise, palettes may look mismatched and movement between screens can be jarring.
Do I need to calibrate both monitors?
If you're doing any color-critical work (photo editing, printing, or design), absolutely. Each display can vary out of the box. Calibration ensures both are consistent so your edits are reliable.
What should go on each monitor?
Put your main image (preview, develop, retouching canvas) on the best-quality display—ideally full-screen. Use the secondary for tools, browser, presets, or image grids. For Lightroom, the builtin "Secondary Display" feature is perfect for this.
---
Conclusion: Level Up Your Adobe Workflow With Dual Monitors
Setting up a dual-monitor workflow for Lightroom and Photoshop can supercharge your creativity, productivity, and the quality of your final images. Whether you need reference space for palettes or demand perfect print proofs, starting with the right display pairing is key.
My top recommended combos:- Best Value: Dual
- Pro Color: Pair with
- Large Workspace: or
Invest now, calibrate often, and watch your workflow transform.
Ready to upgrade your office? Shop the Best Dual-Monitor Options on Amazon---
Internal Linking Notes
- Link to Best Monitors for Creators in 2026 for visitors seeking a broader overview (already included).
- Mention Best Monitors for Photo Editing in 2026 for in-depth editing picks (included above).
- Suggest the detailed reviews of benq-sw271c-review and dell-u2723qe-review for readers comparing leading options.
- Promote benq-sw271c-vs-dell-u2723qe for readers focused on high-end dual-monitor setups.
---
- Large Workspace: or
- Pro Color: Pair with